Best Weapons in Smash Karts Ranked: Ultimate Weapon Tier List (2026)
Every Smash Karts match comes down to one simple truth: the player who controls the best loot box pulls usually controls the scoreboard. You can be the smoothest driver in the lobby, but if you keep pulling Mines while someone else just grabbed a Bullet, you're fighting an uphill battle.
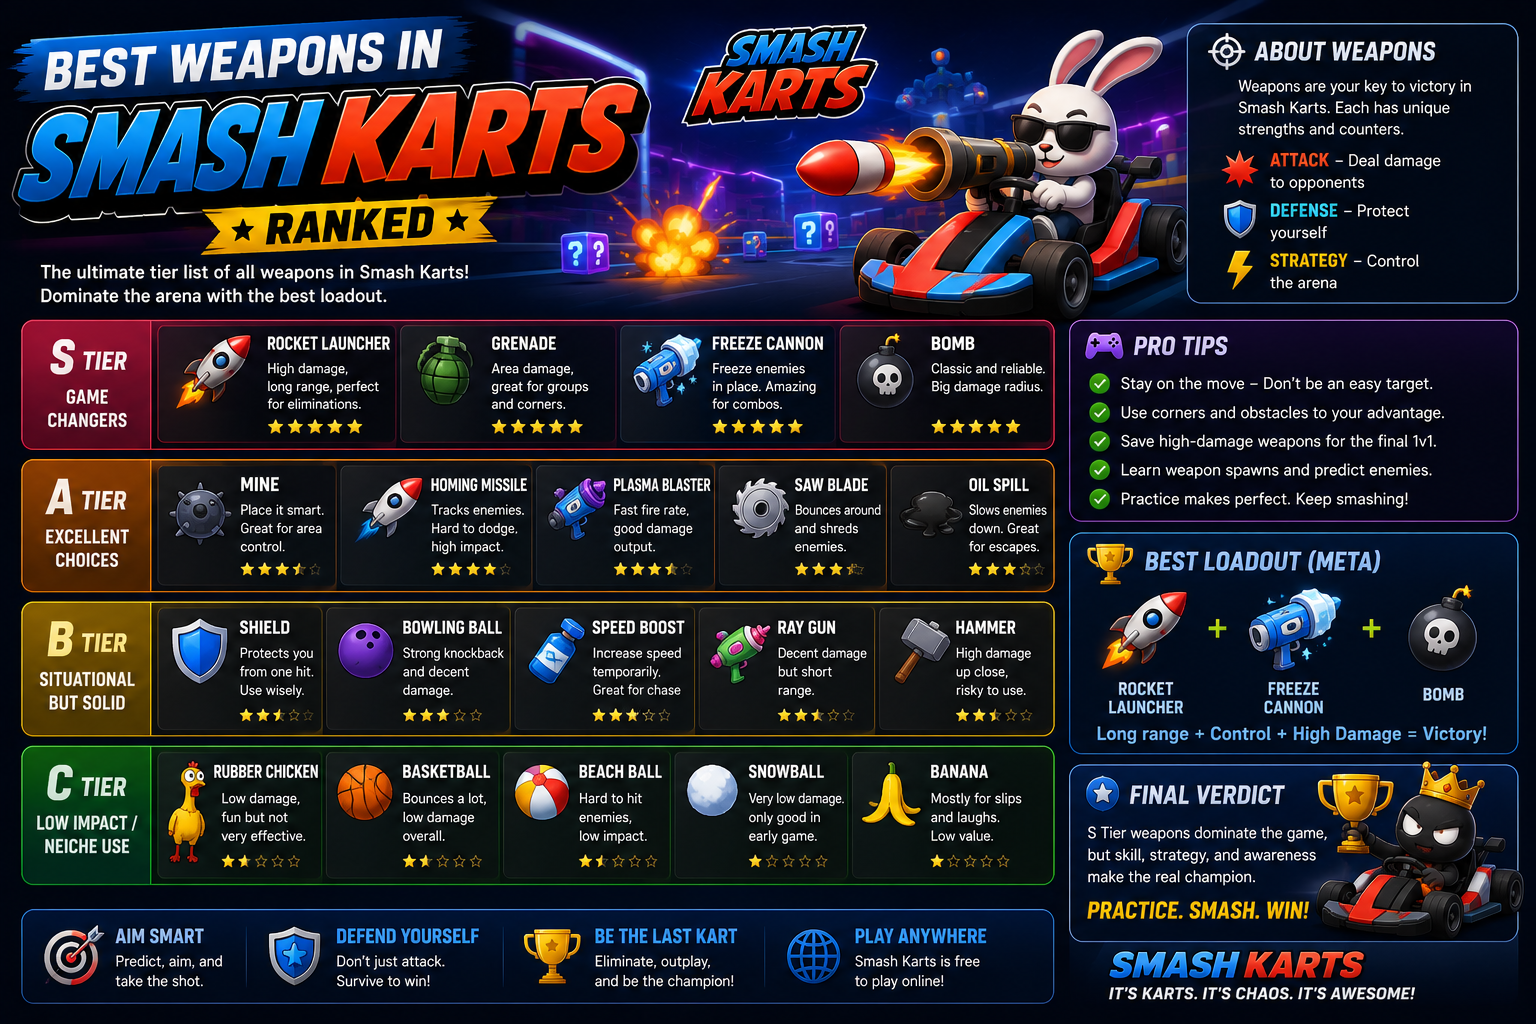
I've spent a stupid number of matches testing every weapon in this game — chasing loot boxes I probably shouldn't have, dying to weapons I underestimated, and slowly figuring out which pickups are actually worth fighting for. Here's my full breakdown, ranked from absolute must-grabs to the ones you can honestly skip.
How This Tier List Was Ranked
- Damage/kill potential — how reliably it actually secures eliminations.
- Reliability — how consistently it hits, not just how strong it looks on paper.
- Range and coverage — whether it works up close, at distance, or both.
- Skill ceiling — how much better it gets in the hands of an experienced player.
- Risk versus reward — whether using it exposes you to danger while you do.
S-Tier: Fight For These Every Time
1. Bullet
Turns your kart into a temporary invincible battering ram for a few seconds. There's essentially no counterplay while it's active — no weapon stops it, and outrunning it is nearly impossible. If you see the loot box glow the moment it drops, it's worth rerouting your entire lap to grab it. The only real weakness is its short duration, so plan your target before you activate it.
2. Rocket
The most consistent weapon in the game. It travels in a straight line and rewards good positioning and timing over raw luck. Firing right as an opponent is airborne off a ramp is one of the most reliable kill setups in Smash Karts, since they have no way to juke mid-air.
3. Triple Rocket
Everything the standard Rocket does, but with a spread that covers far more of the arena. Brutal in open maps or against groups bunched up near a loot box, since dodging one rocket is easy — dodging three at once rarely is.
A-Tier: Strong, Reliable Picks
4. Machine Gun
A steady stream of low-damage shots that punishes opponents who stay in your line of sight too long. Less flashy than a Rocket, but consistently useful across nearly every map and matchup.
5. Nuke
Massive area coverage that punishes bad positioning hard. It takes a moment to line up, so it's less reliable in close-quarters chaos, but devastating when opponents cluster near objectives or choke points.
6. Cannon
Fires multiple cannonballs in your chosen direction, giving you a real shot at multi-kills if you catch a group lined up. Precision matters more here than with a Rocket, which is the main thing holding it back from S-tier.
B-Tier: Solid Situational Tools
7. Mines
Excellent for punishing tailgaters and defending narrow corridors, but nearly useless against opponents who see them coming and simply reroute. Best used defensively rather than as your primary offensive plan.
8. Lob-Grenuke
A lobbed, TNT-style bomb that rewards good arc timing and map knowledge. It has a real learning curve, but skilled players can use it to control chokepoints and punish predictable movement.
9. Spiky Mace (Spiky-Go-Round)
Turns any collision into a kill, which makes it a strong pick for aggressive, ram-heavy playstyles. The catch is you need to actually get close, which is riskier on open maps than tight ones.
C-Tier: Usable, But Rarely Your First Choice
10. Invincibility Star
Grants temporary damage immunity and lets you ram opponents safely, but it's shorter and less aggressive than the Bullet. Solid as a defensive escape tool if you're being chased, but rarely your best offensive option.
11. Shield
Blocks the next incoming hit, which is genuinely useful defensively, but it doesn't help you secure kills on its own. Treat it as insurance, not a weapon.
D-Tier: Skip These When Better Options Exist
12. TNT
A passable panic tool since you can pass it off by bumping another player, but it's unreliable as an actual kill secure and can easily backfire if you're the one holding it when it detonates.
13. Fake Loot Box
More of a trick than a true weapon. It baits opponents into driving toward a trap, but it does nothing if they simply avoid it, and it offers zero direct offensive pressure.
How to Actually Use This Tier List In Matches
14. Prioritize S-tier pickups even if it costs you position
A slightly worse lap position is almost always worth it if it means securing a Bullet or Rocket instead of leaving it for an opponent.
15. Don't fight over low-tier weapons
Contesting a loot box for a Fake Loot Box or TNT when a stronger spawn is nearby rarely pays off. Let low-value pickups go and reposition instead.
16. Match your weapon choice to the map layout
Tight, corridor-heavy maps favor Mines and Spiky Mace, while open maps reward long-range tools like Triple Rocket and Cannon. Adjust your priorities based on where you're playing.
17. Save high-tier weapons for high-value targets
Don't waste a Bullet on a low-threat opponent when the match leader is nearby. Save your best pickups for the fights that actually matter.
18. Learn each weapon's activation windup
Knowing how long a Nuke or Lob-Grenuke takes to actually land helps you decide whether to commit to an engagement or hold back for a faster option.
19. Bait opponents into wasting their strong weapons
Faking an aggressive push can trick opponents into firing a Rocket or activating a Bullet prematurely, leaving them without a strong option when the real engagement happens.
20. Track loot box respawn timing on familiar maps
Once you've played a map enough, you'll start recognizing roughly when high-value spawns tend to reappear, letting you rotate toward them proactively.
21. Don't get greedy chasing a kill with a weak weapon
Sometimes disengaging and repositioning toward a better pickup is smarter than committing to a fight you're under-equipped for.
Common Mistakes Players Make With Weapon Priority
- Grabbing the nearest loot box instead of the strongest available spawn.
- Activating a Bullet too early, wasting it on a low-value or already-fleeing target.
- Ignoring map layout when deciding which weapon to prioritize.
- Standing still to aim a Cannon or Nuke, making yourself an easy Machine Gun target.
- Contesting weak spawns instead of repositioning toward stronger ones.
Final Thoughts
Winning consistently in Smash Karts isn't just about driving skill — it's about weapon discipline. Knowing which pickups are worth fighting for, which ones to skip, and how to adapt your priorities to the map in front of you separates players who occasionally get lucky from players who win consistently. Use this tier list as your baseline, but don't be afraid to adjust based on your own playstyle and the lobbies you're actually facing.
Frequently Asked Questions
What is the strongest weapon in Smash Karts?
The Bullet is widely considered the strongest overall, since it grants temporary invincibility and turns your kart into a ram with essentially no counterplay while active.
Is the Rocket still good in 2026?
Yes — the Rocket remains one of the most consistent weapons in the game because of its reliability and reward for good aim and timing, even without homing capability.
Should I always grab the strongest weapon available?
Not always. If grabbing a top-tier weapon puts you at serious risk or pulls you off a smarter route, a safer, slightly weaker pickup can sometimes be the better call.
Do weapon rankings change based on the map?
Yes. Tighter, corridor-style maps favor close-range tools like Mines and the Spiky Mace, while open maps favor long-range options like Triple Rocket and Cannon.